
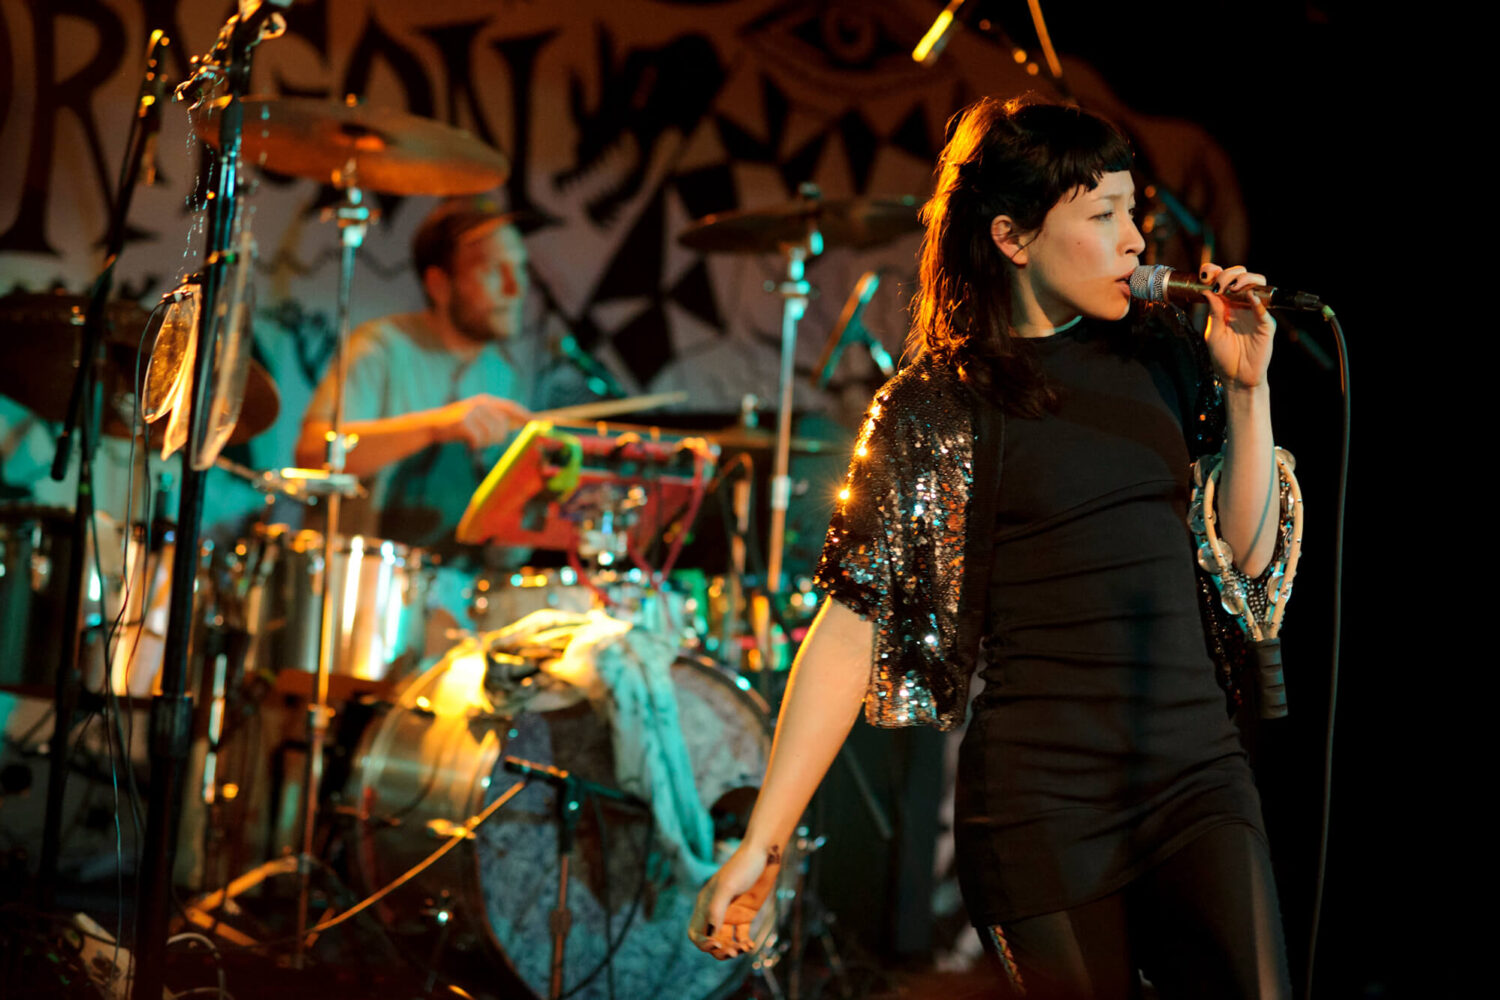
As I settled in to listen to the group Little Dragon and take some concert photos at The Black Cat in Washington DC, I noticed I wasn’t the only one with a DSLR. There were quite a few. If you’ve ever met me, you know I like to talk so I had a quick conversation with most of the people that I saw with cameras and I didn’t tell them, but I knew it would be rough going. I just handed them a card and told them I teach photography classes if they’re ever interested.
The challenges with concert photography are always light and movement; too little light and too much movement. The best way to solve that is to shoot in manual mode 100% of the time. There’s really no point to even bother with the other modes. Read on to find out exactly why you MUST shoot in manual mode. But first, let’s lay out what makes a good concert shot.
It has to be frozen and you need a great exposure. Pretty easy, right? OK so the exposure part entails ISO, shutter speed, and aperture and I know it’s not that easy. Those three settings are all you have to work with since flash isn’t typically allowed in concert venues. Even if I was allowed, I wouldn’t use flash anyway. That would be too easy and it would wash away the ambience. So here’s where your settings need to be to get a great exposure:
ISO – No mystery here… It needs to be high, so just go ahead and set it at a high ISO.
How high? How nice is your camera and how much noise can you tolerate?
Aperture – Again, no mystery here… go wide. But it depends on your taste, ability to focus, and the lens you have. If you tell me you only have an 18-55mm f3.5-5.6 lens, I’ll tell you to sit back and enjoy the music. If you tell me you have a 50mm f1.8 lens, I’d say let’s take some shots!
So let’s say you dial in what you want for ISO/aperture/shutter speed and take a shot. Yikes! It’s probably a bit dark, but it might be perfect. If so, keep on snapping! Now, the only things that can be wrong with your photo are that it can be too bright or too dark since you’ve controlled all of the other settings. You can’t complain about ISO, aperture, or your shutter speed because you’ve picked those and you knew what you were getting into.
If it’s too bright that’s great! That means we can reel in our exposure a bit and improve on our image. What do you want? Less noise, faster shutter speed, or a smaller aperture?
If it’s dark (and it probably is) then you have decision to make. You need to concede on one or some of your settings. Which is going to hurt your photo the least? Wider aperture, slower shutter speed, or more noise? You make that choice. If you max out everything and you still have dark images then you need to upgrade your camera or get a lens with a wider aperture.
It’s not all bad news. That dark photo can be saved if you are shooting RAW files. If the gap isn’t too wide between the exposure deficit and the extra exposure saved with a RAW file you can turn it up with a program like Adobe Lightroom or Apple Aperture.
You don’t want to do it in post processing? Then that photo isn’t going to happen. Why not shoot in shutter priority? Your camera already told you that you don’t have enough camera/lens to get the shot and changing modes doesn’t change physics.
My mentality when it comes to low light photography is get the shutter speed right and don’t underexpose too much. You can bridge that gap in post processing. If you want that photo to look perfectly exposed in camera then it’s going to cost you a little ISO/aperture or shutter speed and that might just cost you that great image you saw in your head.
